



















































































































































































































































For many car owners, the idea of car door visor installation may sound like a job that requires professional help. In reality, most adhesive-based visors can be installed at home when the correct product and installation method are used. The important part is not rushing the process. Cleaning the surface properly, checking the position, aligning the visor correctly, and giving the adhesive enough time to bond can make a significant difference.
If you have recently purchased a door visor for car or are planning to upgrade your vehicle with a car rain visor, this guide from Creckk will walk you through the process in simple steps. We will cover what car door visors are, their everyday benefits, the items required before installation, and how to install car door visors correctly.
Whether you are a first-time car owner or someone who enjoys doing basic car upgrades yourself, this DIY car door visor installation guide will help you achieve a neat and secure fit.
1. What Are Car Door Visors and Why Are They Useful?
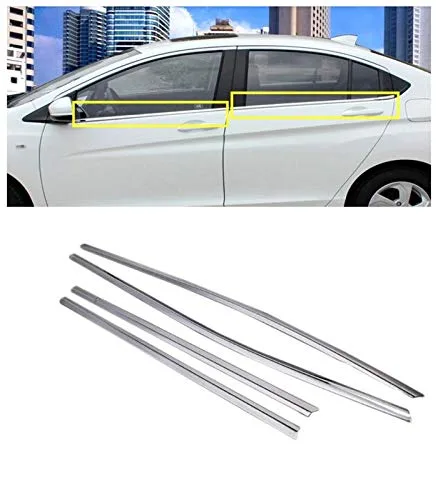
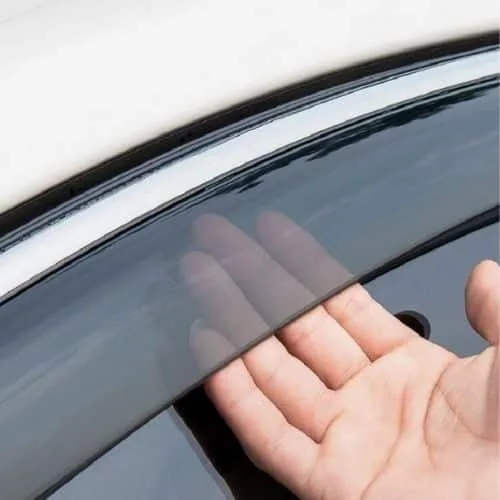
Car door visors are accessories fitted along the upper edge of a vehicle's door or window frame. They are also known by names such as car window visor, window deflector, rain visor, or car rain visor. Their primary purpose is to provide some protection from rain while allowing the vehicle's windows to remain partially open.
Imagine driving on a rainy day with the windows completely closed. The cabin may start feeling warm or stuffy, especially when several passengers are inside. Opening the window can improve airflow, but rainwater can enter. This is where a door visor for car can be useful. The visor extends slightly outward from the window frame and helps deflect rain away from the opening.
Apart from rain protection, a window visor for car can support natural ventilation. Drivers can keep the window open slightly to allow fresh air into the cabin without exposing the entire window opening. This can also be helpful when you want to release hot air from the interior after the car has been parked in the sun.
Another reason people choose a car door visor is appearance. A well-designed visor that matches the vehicle can give the side profile a more finished and customised look. However, the fit is important. A poorly sized visor may look uneven or interfere with the window mechanism.
Before buying, check that the product is compatible with your exact vehicle make, model, and variant. Choosing the right accessory and installing it correctly ensures that the upgrade looks good while serving its intended purpose. Creckk focuses on practical car accessories that can make everyday ownership more convenient.
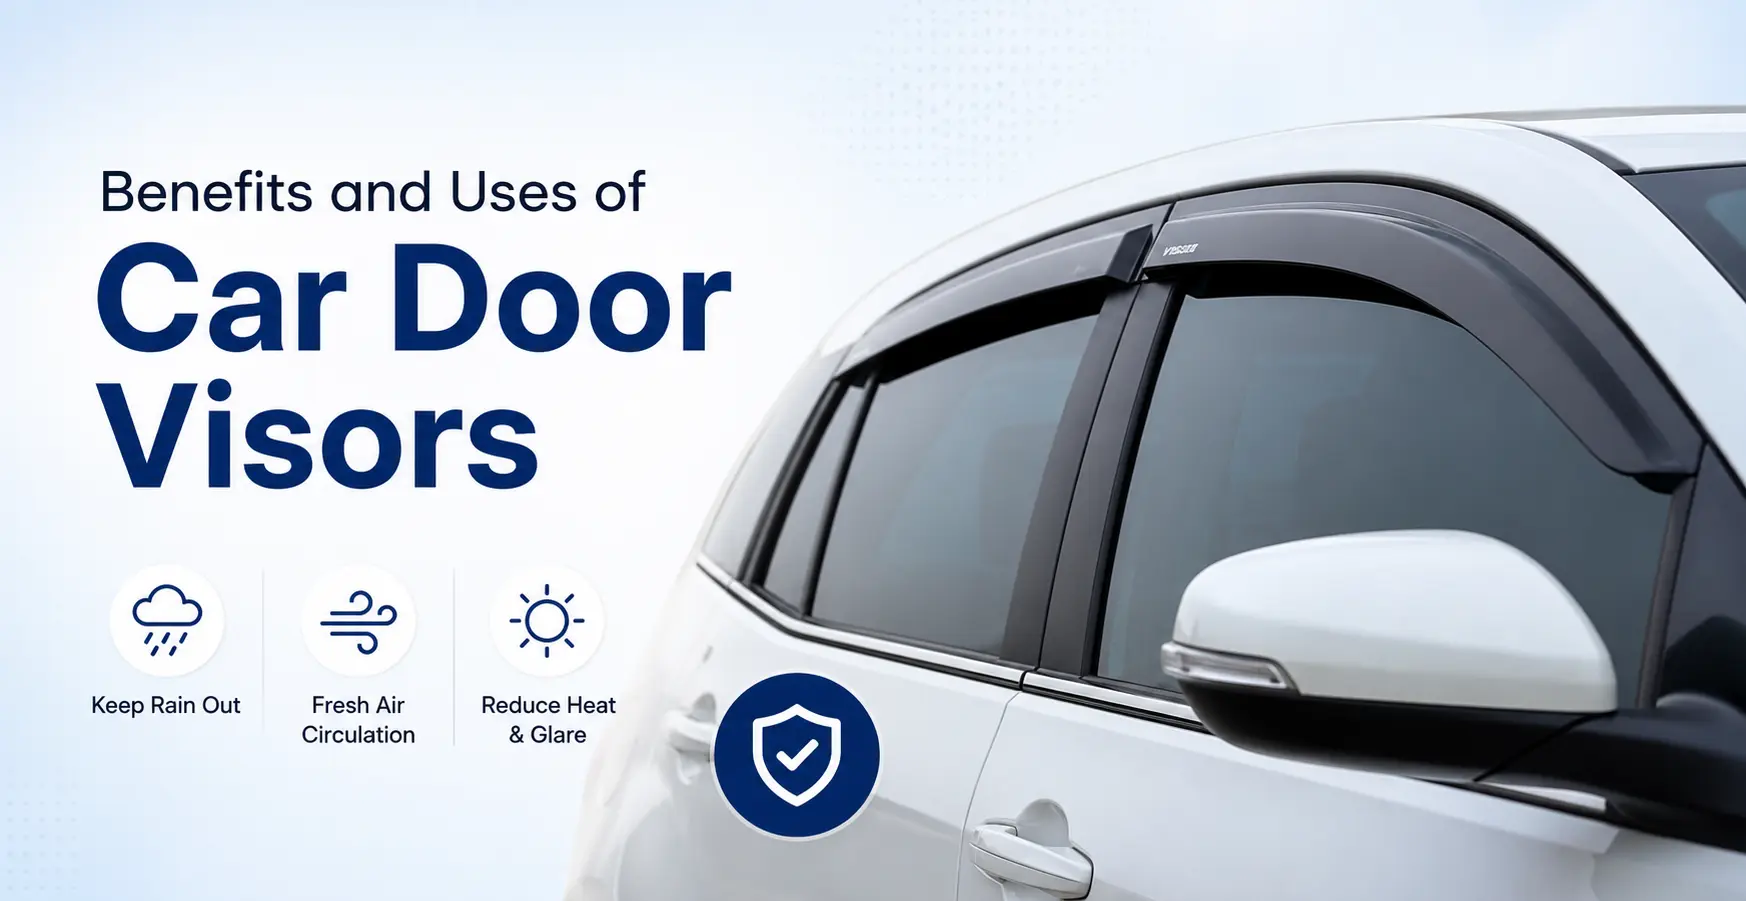
2. Benefits and Uses of Car Door Visors for Everyday Driving
A car door visor is a relatively simple accessory, but it can offer several practical benefits during daily driving. One of its most noticeable advantages is helping to keep rainwater away from the window opening. During light rain, you can lower the window slightly while the visor helps redirect falling water away from the cabin.
Better Ventilation
Ventilation is another important use of car door visors. Keeping a window slightly open can allow fresh air to circulate through the cabin. This can be particularly useful when you want some natural airflow without opening the window completely.
More Comfortable Driving in Light Rain
Without a car rain visor, opening the window during rain can quickly result in water entering the door panel or cabin. A properly fitted visor provides a degree of coverage over the opening. However, it should not be treated as complete protection during heavy rain or strong winds.
Helps Manage Airflow
A car window visor can change the way air moves around the window opening. Depending on the vehicle and visor design, it may make partially opening the window more comfortable by reducing direct airflow into the cabin. The effect on wind noise can vary considerably between different cars and speeds.
Adds a Customised Appearance
For many owners, looks matter too. A sleek window visor for car can complement the vehicle's body lines and give the side profile a more finished appearance. Smoke-tinted or dark visors are especially popular because they can blend naturally with the windows.
Practical for Everyday Use
Whether you commute to college, travel long distances, or regularly drive around the city, a door visor for car can be a useful comfort accessory.
| Benefit | Everyday Use |
|---|---|
| Rain Protection | Helps reduce rain entering through a partially open window |
| Ventilation | Allows some fresh air into the cabin |
| Airflow Management | Makes partially opened windows more comfortable |
| Appearance | Adds a customised and finished look |
| Convenience | Useful during changing weather conditions |
At Creckk, the goal is to make car accessories easier to discover for different vehicle needs. However, remember that the actual performance of a visor depends on its design, fitment, installation quality, and weather conditions.
3. What You Need Before Installing Car Door Visors
Before starting car door visor installation at home, spend a few minutes preparing everything you need. Good preparation can prevent common installation problems such as crooked alignment, weak adhesive bonding, or visible gaps.
The first and most important item is the correct car door visor set. Always confirm that the visor is made for your specific car model. Even vehicles from the same manufacturer can have different door and window dimensions, so avoid assuming that one universal visor will fit every vehicle.
You will also need a clean microfiber or soft cleaning cloth. A suitable surface cleaner can be used to remove dust, grease, fingerprints, wax, and other contaminants from the door frame. The exact cleaner should be compatible with your vehicle's exterior surfaces and the visor manufacturer's instructions.
Before beginning, choose a clean and dry location. Installing the visor in dusty conditions can allow particles to get trapped between the adhesive and the mounting surface. Moisture can also affect adhesive performance.
Before removing any adhesive backing, perform a test fit. Place each car window visor against its intended position without removing the adhesive backing. Check the front and rear ends, door edges, window movement, and overall alignment.
Pre-Installation Checklist
| Item | Why You Need It |
|---|---|
| Correct visor set | Ensures compatibility with your vehicle |
| Microfiber cloth | Removes dust and surface contamination |
| Suitable surface cleaner | Helps prepare the mounting area |
| Clean, dry workspace | Provides better installation conditions |
| Product instructions | Confirms fitting and adhesive requirements |
Once everything is ready, inspect the visors for damage. Check the adhesive strips and make sure the pieces correspond to the correct doors.
The next step is test-fitting. Place each car window visor against its intended position without removing the adhesive backing. Check the front and rear ends, door edges, window movement, and overall alignment.
This preparation is particularly important if you are learning how to install door visor on car for the first time. Do not rush directly to the adhesive stage. Spending a few extra minutes checking the position can make the final installation much cleaner.
Creckk makes it easier for car owners to explore accessories suited to their vehicles, but installation should always be carried out according to the product's specific instructions.
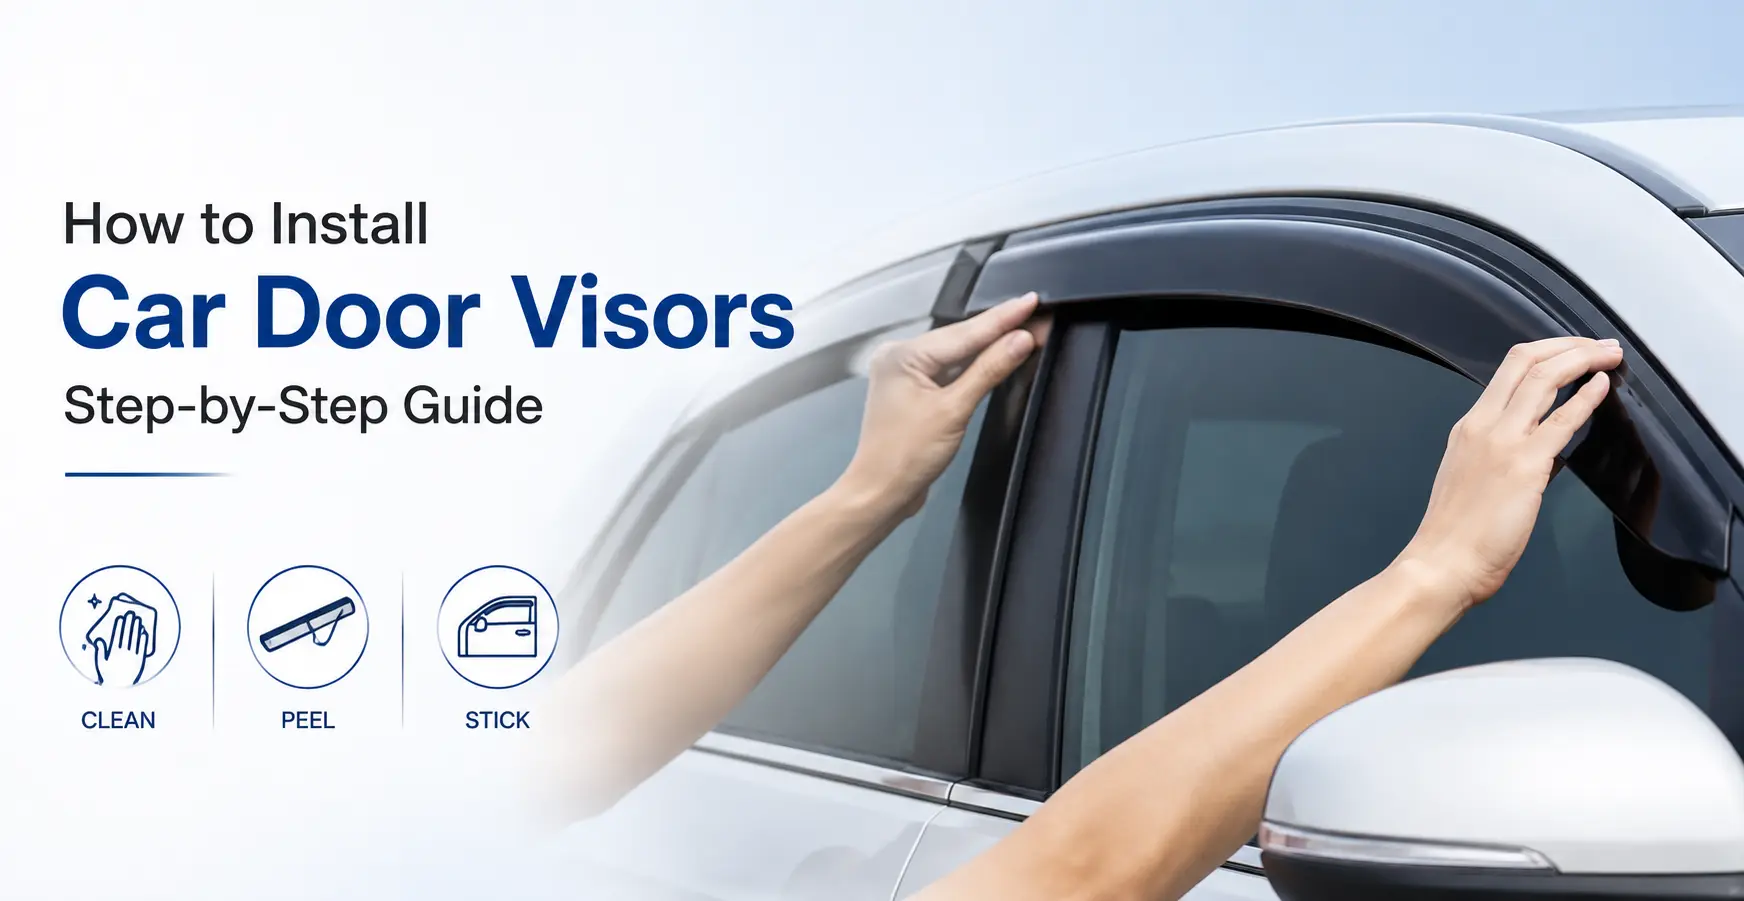
4. How to Install Car Door Visors at Home: Step-by-Step Guide
If you're searching for how to install car door visors, the process is straightforward when you follow each step carefully. Most adhesive-based visors do not require complicated tools, but accurate positioning and surface preparation are essential.
Step 1: Clean the Door Frame
Begin by thoroughly cleaning the area where the car door visor will be installed. Use a clean microfiber cloth and a suitable surface cleaner to remove dust, grease, wax, and other residue.
Pay special attention to the upper window frame where the adhesive will make contact. Once cleaned, allow the surface to dry completely. Do not begin installation while the mounting area is wet.
Step 2: Test-Fit the Visor
Take the appropriate car window visor and place it against the window frame without removing the adhesive backing.
Check whether the visor follows the natural shape of the door. Look at both ends and make sure the piece is positioned evenly. Also operate the window carefully to ensure the visor does not interfere with its movement.
This is your final opportunity to make adjustments easily.
Step 3: Peel the Adhesive Backing
Once you are confident about the position, carefully peel away the protective adhesive backing.
Try not to touch the exposed adhesive surface unnecessarily. Dirt or fingerprints can reduce contact between the adhesive and the vehicle surface.
Step 4: Align Carefully
Position the visor slowly from one end to the other. Do not rush this stage. The door visor for car should follow the window frame naturally and maintain an even appearance.
If the visor has alignment points or installation instructions supplied by the manufacturer, use them as your reference.
Step 5: Press Firmly
Once aligned, press the visor firmly along its entire length. Pay particular attention to the ends, corners, and areas where the adhesive needs good contact.
Apply steady, even pressure rather than pressing only at one point. This helps the adhesive make proper contact with the mounting surface.
Step 6: Allow the Adhesive to Set
The final step in DIY car door visor installation is patience. Allow the adhesive to set according to the product manufacturer's instructions.
Avoid unnecessarily moving or pulling the visor immediately after installation. If possible, avoid washing the car immediately after fitting so the adhesive has suitable conditions to bond.
Following this step by step car door visor installation method can help you achieve a cleaner and more secure result. If you're wondering how to fit car window visor accessories correctly, remember the basic formula: clean → test-fit → peel → align → press → allow to set.
Creckk makes it easier for car owners to explore accessories suited to their vehicles, but always follow the specific fitting instructions provided with the product you purchase.
Car Door Visor Installation Checklist
| Installation Stage | What You Should Check |
|---|---|
| Clean | Door frame is clean, dry, and free from residue |
| Test-Fit | Visor matches the window frame correctly |
| Adhesive | Backing is removed only after confirming alignment |
| Position | Visor follows the door's natural contours |
| Pressure | Adhesive has been pressed firmly across the surface |
| Setting | Adequate time has been allowed for the adhesive to bond |
| Final Check | Window operates normally without obstruction |
A final inspection is worth doing before you drive. Check that every visor is securely attached and that the windows open and close smoothly.
Common Mistakes to Avoid During Car Door Visor Installation
Even though car door visor installation at home is relatively simple, a few mistakes can affect the final result.
- Skipping surface cleaning: Dust, grease, and wax can prevent the adhesive from bonding properly.
- Removing the backing too early: Always test-fit the visor before exposing the adhesive.
- Incorrect alignment: A small positioning mistake can make the visor look uneven or cause fitment issues.
- Pressing only the centre: Apply firm, even pressure across the entire visor, particularly around the ends.
- Ignoring the setting period: Give the adhesive sufficient time to bond before exposing the vehicle to unnecessary stress or washing.
- Using the wrong visor: Always choose a product designed for your vehicle. Correct fitment is essential for both appearance and functionality.
Frequently Asked Questions About Car Door Visors
1. How to install car door visors at home?
To install car door visors at home, clean and dry the door frame, test-fit the visor, peel the adhesive backing, align the visor carefully, press it firmly against the surface, and allow the adhesive to set according to the manufacturer's instructions.
2. How to install door visor on car without professional help?
Most adhesive-based visors can be installed without specialist equipment. The key is accurate positioning and proper surface preparation. Always follow the fitting instructions supplied with your particular visor.
3. How to fit car window visor correctly?
To understand how to fit car window visor accessories correctly, first test the position without removing the adhesive backing. Ensure the edges follow the window frame and check that the window can move freely. Then attach and press the visor firmly.
4. Can a car rain visor prevent all rain from entering?
No. A car rain visor is designed to help deflect rain away from a partially open window. It cannot provide complete protection against heavy rain, strong winds, or water coming from other directions.
5. Do car door visors improve ventilation?
Yes, they can make it more practical to keep the windows slightly open during suitable weather conditions. This allows fresh air into the cabin while the visor provides a degree of protection around the window opening.
6. Can car door visors reduce wind noise?
They may change airflow around an open window and can make the experience more comfortable in some vehicles. However, the amount of wind-noise reduction varies according to the car, visor design, installation, and driving speed.
7. How long does car door visor installation take?
Installation time depends on the vehicle and product design. Preparing the surface and carefully checking the alignment generally takes more time than the actual attachment. It is better to prioritise accuracy over speed.
8. Can I wash my car immediately after installation?
It is generally better to avoid washing the vehicle immediately after fitting. Follow the adhesive manufacturer's recommended setting time before exposing the visor to water or pressure.
9. Are car door visors useful in Indian weather?
They can be particularly practical in areas where drivers experience changing weather conditions, including heat, humidity, and seasonal rain. A car window visor allows some ventilation while providing a degree of protection from rain.
10. Where can I find car accessories like door visors?
You can explore suitable car accessories through Creckk, but always check your vehicle's make, model, variant, and compatibility before purchasing. The right product combined with careful installation can make a noticeable difference to both appearance and everyday convenience.